Introduction

Do you love capybaras? These adorable creatures have become quite popular in recent years. If you have ever wanted to learn how to draw a cute capybara, you're in luck! In this article, we will provide you with step-by-step instructions on how to create your very own capybara drawing. Whether you're an experienced artist or a beginner, you'll find these tips and techniques helpful in bringing these lovable animals to life on paper.
Gather Your Materials

Before we begin, make sure you have all the necessary materials. You will need a pencil, eraser, paper, and coloring tools such as colored pencils or markers. Having a reference image of a capybara will also be helpful as you start drawing.
Start with Basic Shapes
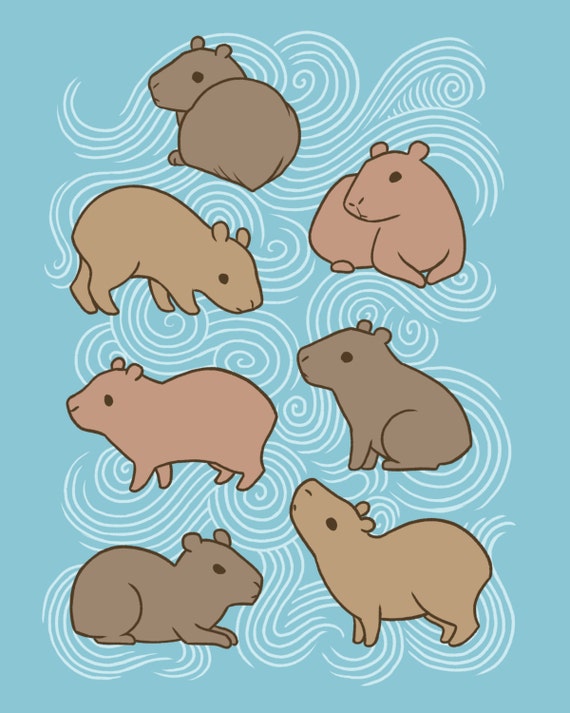
Begin by lightly sketching the basic shapes that make up the capybara's body. Start with an oval shape for the body and a smaller oval for the head. Add circles for the ears and eyes. Remember, these are just guidelines, so don't worry about making them perfect.
Add Details to the Face

Now, let's focus on the face of the capybara. Add more details to the eyes by drawing smaller circles for the pupils. Sketch a small triangle for the nose and a curved line for the mouth. Don't forget to include the capybara's signature round cheeks!
Outline the Body
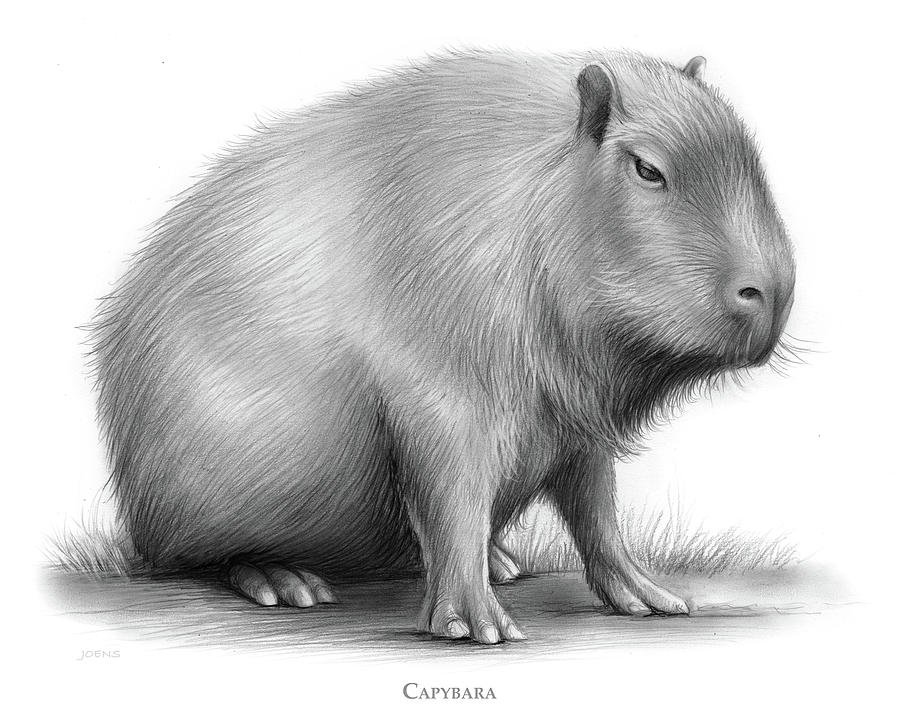
Using the basic shapes as a guide, start outlining the capybara's body. Draw curved lines to connect the head and body, making sure to capture the roundness of these animals. Extend the lines to create the legs and feet. Don't worry about adding too much detail at this point; we'll refine it later.
Add Fur and Texture
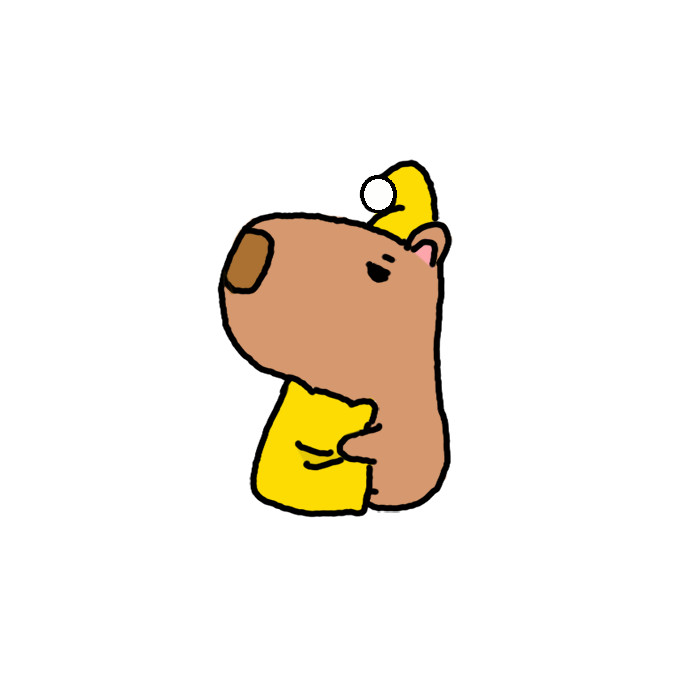
Now it's time to give your capybara some texture! Add short, curved lines all over the body to represent fur. Pay attention to the direction of the lines, as they should follow the contours of the body. Add some small dots to the cheeks to represent whiskers.
Refine the Features
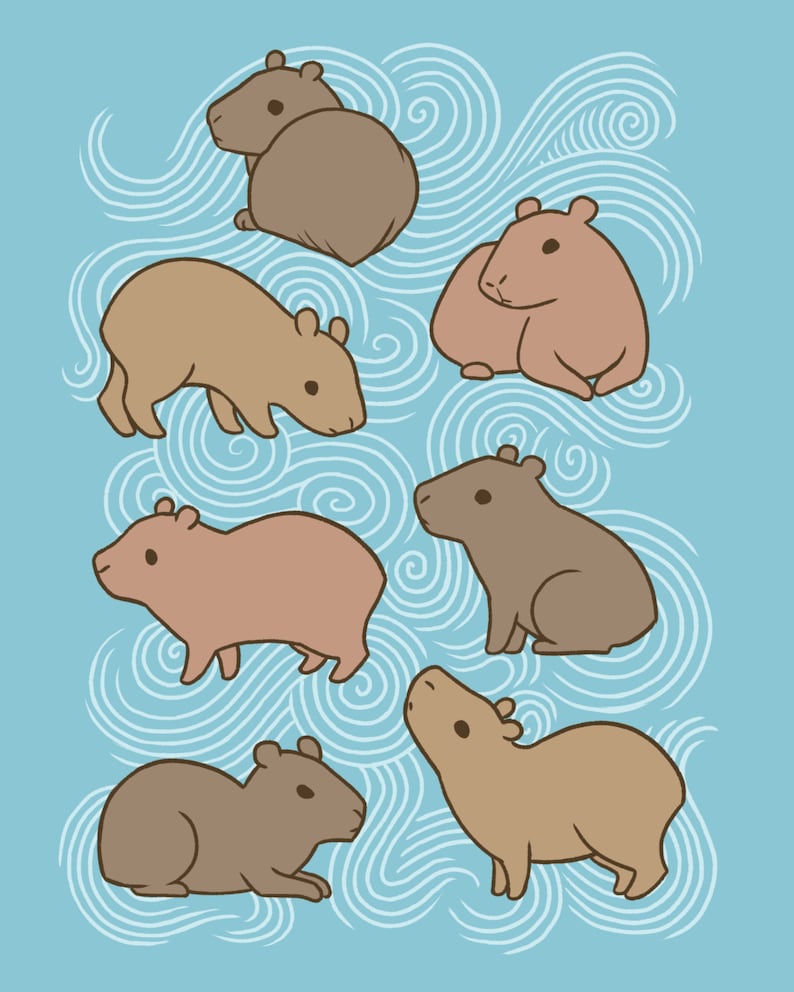
Go back to the face and refine the features. Make the eyes more expressive by adding eyelashes and eyebrows. Darken the nose and add some shading to create dimension. Don't forget to erase any unnecessary guidelines.
Work on the Limbs
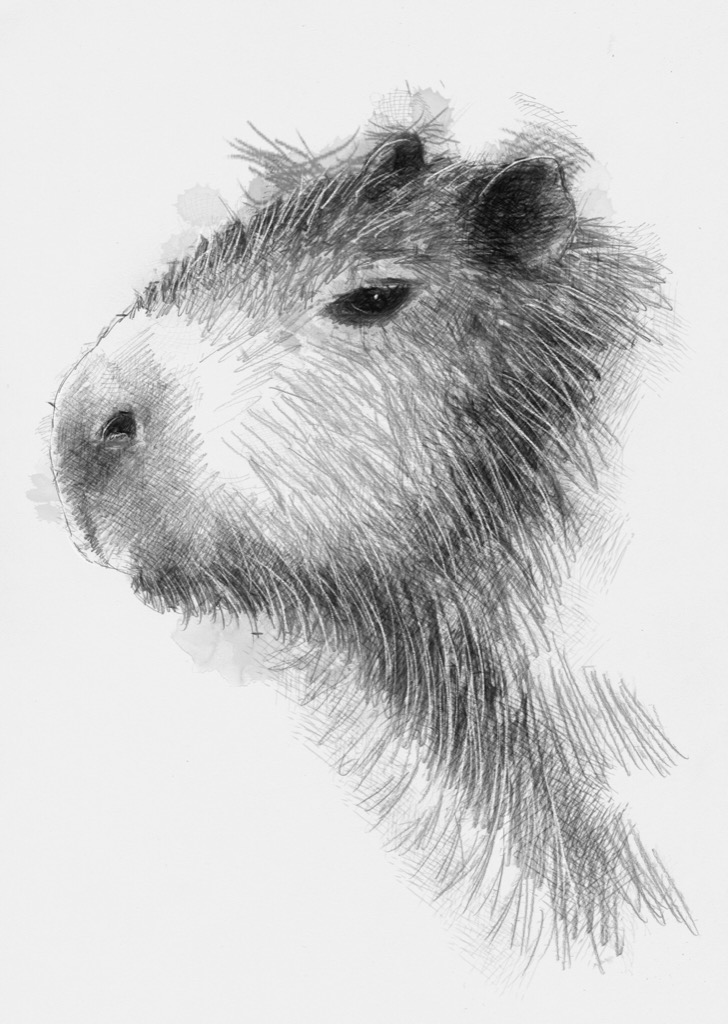
Focus on the limbs of the capybara. Add more details to the feet by drawing small ovals for the toes. Make the legs appear rounder by adding curved lines to indicate muscles. Remember to maintain the proportions and make adjustments as needed.
Draw the Tail

Let's not forget about the capybara's tail! Draw a long, curved line extending from the back of the body. Add some fur texture by drawing short lines along the tail's length. Make it fluffy!
Finalize the Outline

Now that you have all the main elements in place, it's time to finalize the outline. Go over your drawing with a darker pencil or pen, emphasizing the lines you want to keep. Erase any remaining guidelines to clean up the image.
Add Color
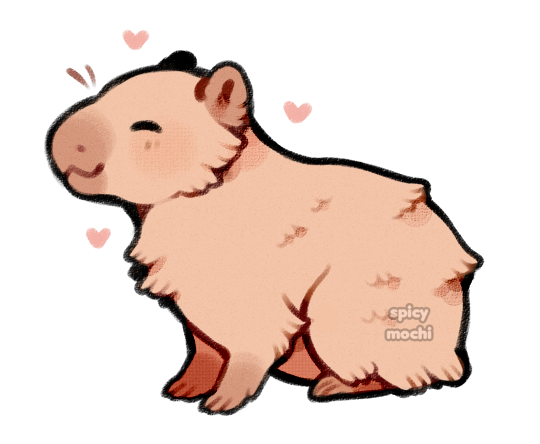
Finally, it's time to bring your capybara to life with color! Use your preferred coloring tools to add shades of brown to the fur. You can also add some highlights with lighter shades to create depth. Don't forget to color the eyes and nose as well.
Conclusion
Congratulations! You have successfully drawn a cute capybara. Remember, practice makes perfect, so don't be discouraged if your first attempt doesn't turn out exactly as you imagined. With time and patience, your capybara drawings will improve. Now, go ahead and share your adorable capybara artwork with your friends and family!