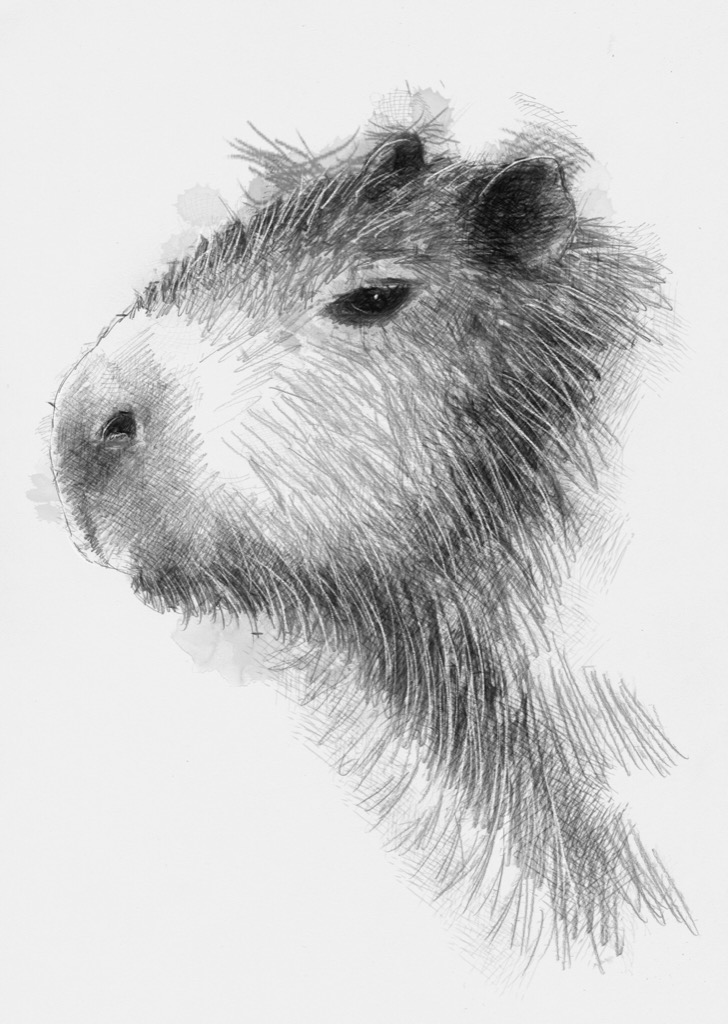
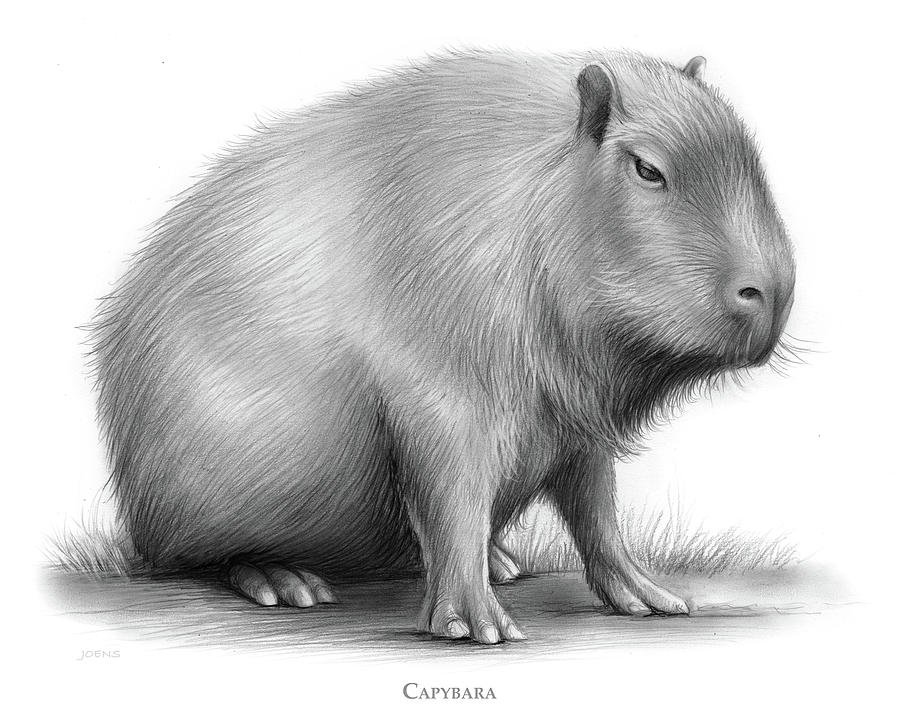
Introduction
Are you a fan of adorable animals? Have you ever wanted to learn how to draw a cute capybara? Well, you're in luck! In this step-by-step tutorial, we will guide you through the process of creating your very own charming capybara drawing. So grab your pencils and let's get started!
Gathering Your Materials
Before we begin, make sure you have all the necessary materials at hand:
- A blank sheet of paper
- Pencils of various hardness (2B, 4B, and 6B)
- An eraser
- A sharpener
Step 1: Sketching the Basic Shapes
To start, lightly sketch a large oval shape for the capybara's body. Then, add a smaller oval shape on top for the head. Remember, this is just a rough guideline, so don't press too hard with your pencil.
Step 2: Adding the Facial Features
Now it's time to bring your capybara to life! Draw two small circles for the eyes, leaving some space in between. Add a tiny dot inside each eye to represent the pupils. Then, draw a small triangular shape for the nose and a curved line underneath for the mouth.
Step 3: Outlining the Body and Limbs
Next, use your pencil to outline the capybara's body and limbs. Start by tracing the oval shapes you sketched earlier, adding some curves to define the contours. Don't forget to include the capybara's short front legs and larger hind legs.

Step 4: Adding Details
Now it's time to add some adorable details to your capybara drawing. Begin by drawing small ovals on the capybara's face to represent the ears. Then, carefully sketch the capybara's toes on each foot. Don't forget to include the claws!

Step 5: Shading and Texturing
To add depth and dimension to your capybara drawing, it's time to shade and texture. Use a softer pencil (4B or 6B) to create shadows on the capybara's body. Pay close attention to areas where light wouldn't normally reach, such as under the chin and behind the ears.

Step 6: Finalizing the Drawing
Lastly, refine your capybara drawing by erasing any unnecessary lines and adding final touches. You can also use a kneaded eraser to lighten certain areas and create highlights. Take your time and make sure you are satisfied with the overall look of your adorable capybara.

Conclusion
Congratulations! You have successfully learned how to draw a cute capybara. With practice, you can further enhance your skills and create even more adorable capybara drawings. So keep exploring, experimenting, and most importantly, have fun! Happy drawing!
