
Introduction
If you love capybaras and have a passion for drawing, you're in luck! In this tutorial, we will guide you through the steps of creating a cute capybara drawing. Whether you are a beginner or an experienced artist, this tutorial will provide you with the necessary techniques to bring these adorable creatures to life on paper. So grab your drawing supplies and let's get started!
Gather Your Materials

Before diving into the drawing process, make sure you have all the necessary materials. Here's what you'll need: - A sketchbook or drawing paper - Pencils of varying hardness (HB, 2B, 4B) - An eraser - Colored pencils or markers (optional) - Reference images of capybaras for inspiration
Step 1: Basic Shapes

Start by lightly sketching the basic shapes that make up a capybara's body. Begin with an oval shape for the head and a larger oval for the body. Connect the two shapes with a curved line to create the neck. Add circles for the ears and ovals for the limbs.
Step 2: Facial Features
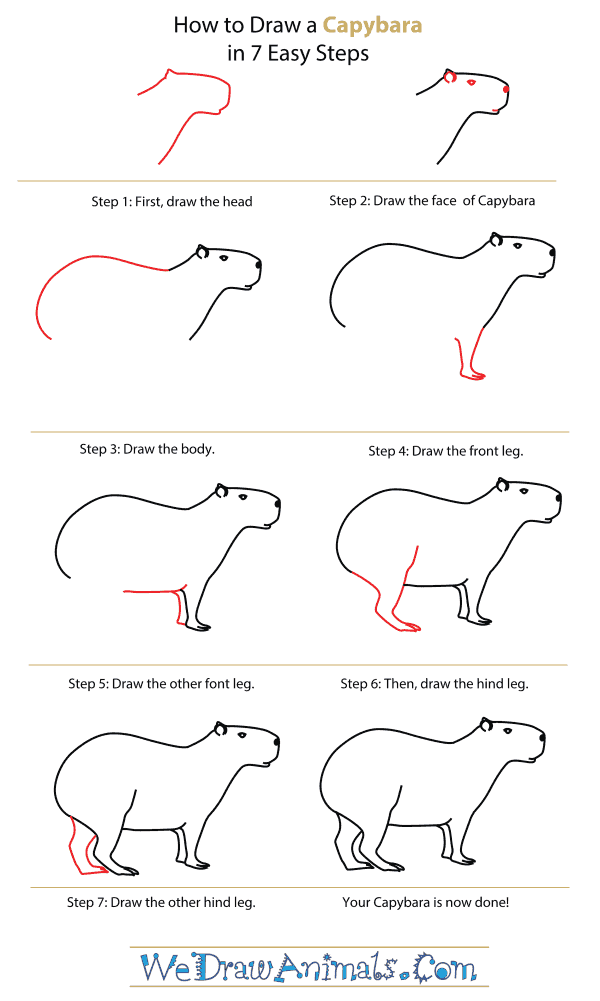
Next, focus on the capybara's face. Draw two small circles for the eyes and a slightly curved line for the nose. Add a smiling mouth by drawing a curved line with small ovals on each end for the teeth. Don't forget to include the capybara's signature round cheeks!
Step 3: Body Details

Now it's time to add some details to the capybara's body. Draw small ovals at the end of each limb to represent the paws. Add a few curved lines on the belly to indicate the fur. Sketch a long, thin tail at the back of the body. Remember to keep your lines light and easily erasable.
Step 4: Refine the Outline
Once you are satisfied with the basic shapes and details, refine the outline of your capybara drawing. Use darker lines or a finer pencil to define the contours of the body, face, and limbs. Erase any unnecessary guidelines, leaving behind a clean and polished outline.
Step 5: Add Fur Texture

To give your capybara drawing a realistic touch, add some fur texture. Use short, curved lines to create the appearance of fur on the body and limbs. Be mindful of the direction of the fur, following the contours of the capybara's body. This technique adds depth and dimension to your artwork.
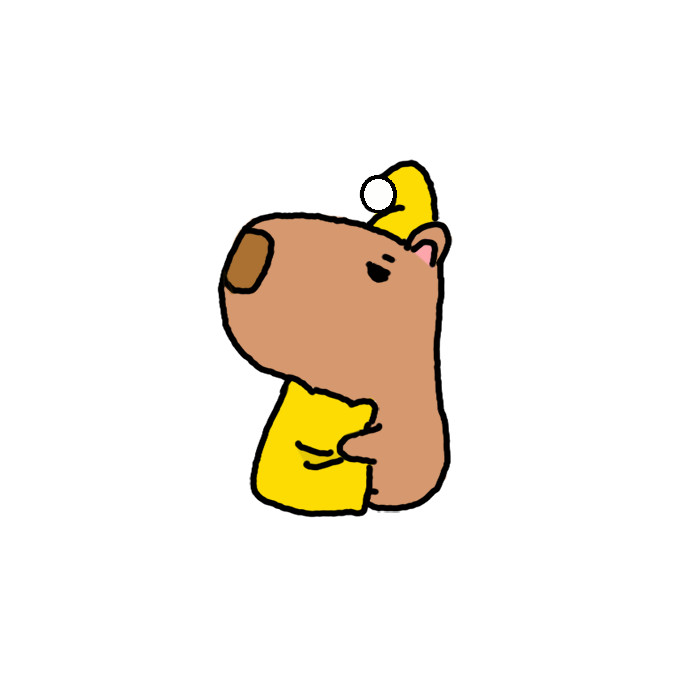
Step 6: Coloring (Optional)

If you prefer to add color to your capybara drawing, now is the time to do so. Select your desired colors and lightly shade the different parts of the capybara's body. Pay attention to the lighting and shadows to create a more realistic appearance. Colored pencils or markers work well for this step.
Step 7: Final Details

As a finishing touch, add any additional details you'd like to include in your capybara drawing. You could draw a background that represents the capybara's natural habitat, such as grass or water. Don't forget to sign your artwork and celebrate the completion of your cute capybara creation!
Conclusion
Drawing a cute capybara can be a fun and rewarding experience. By following these step-by-step instructions, you'll be able to create your very own capybara masterpiece. Remember to practice regularly and have patience with yourself as you develop your drawing skills. Happy drawing!
