Introduction
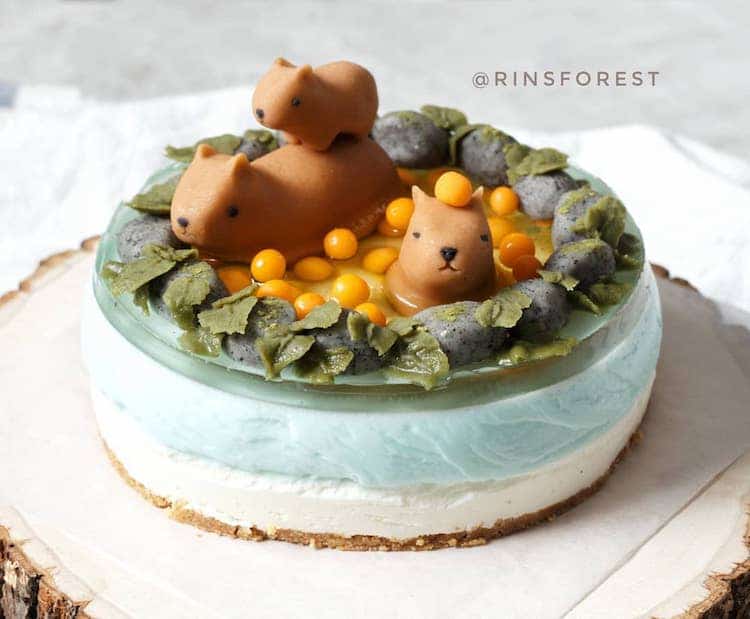
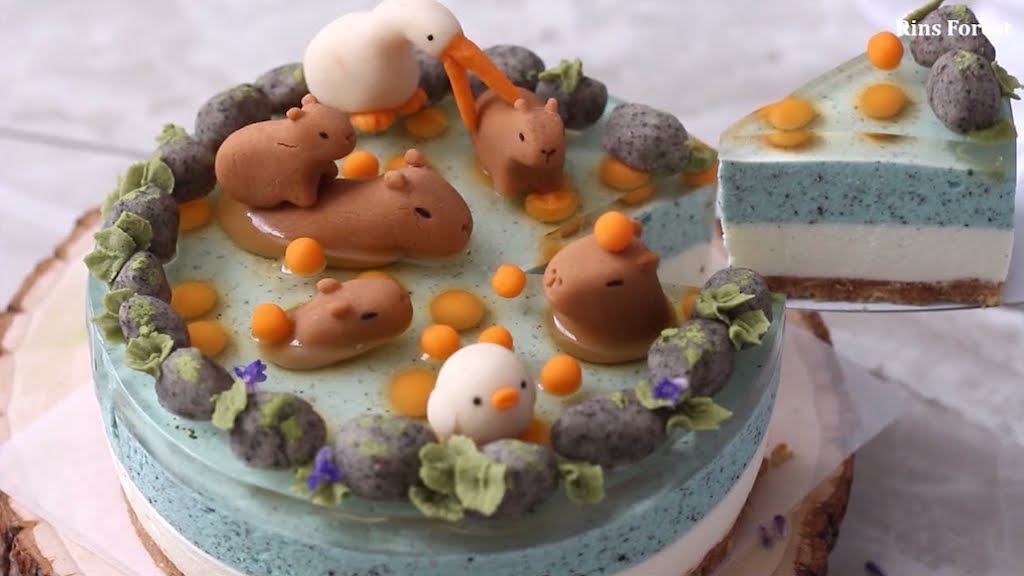
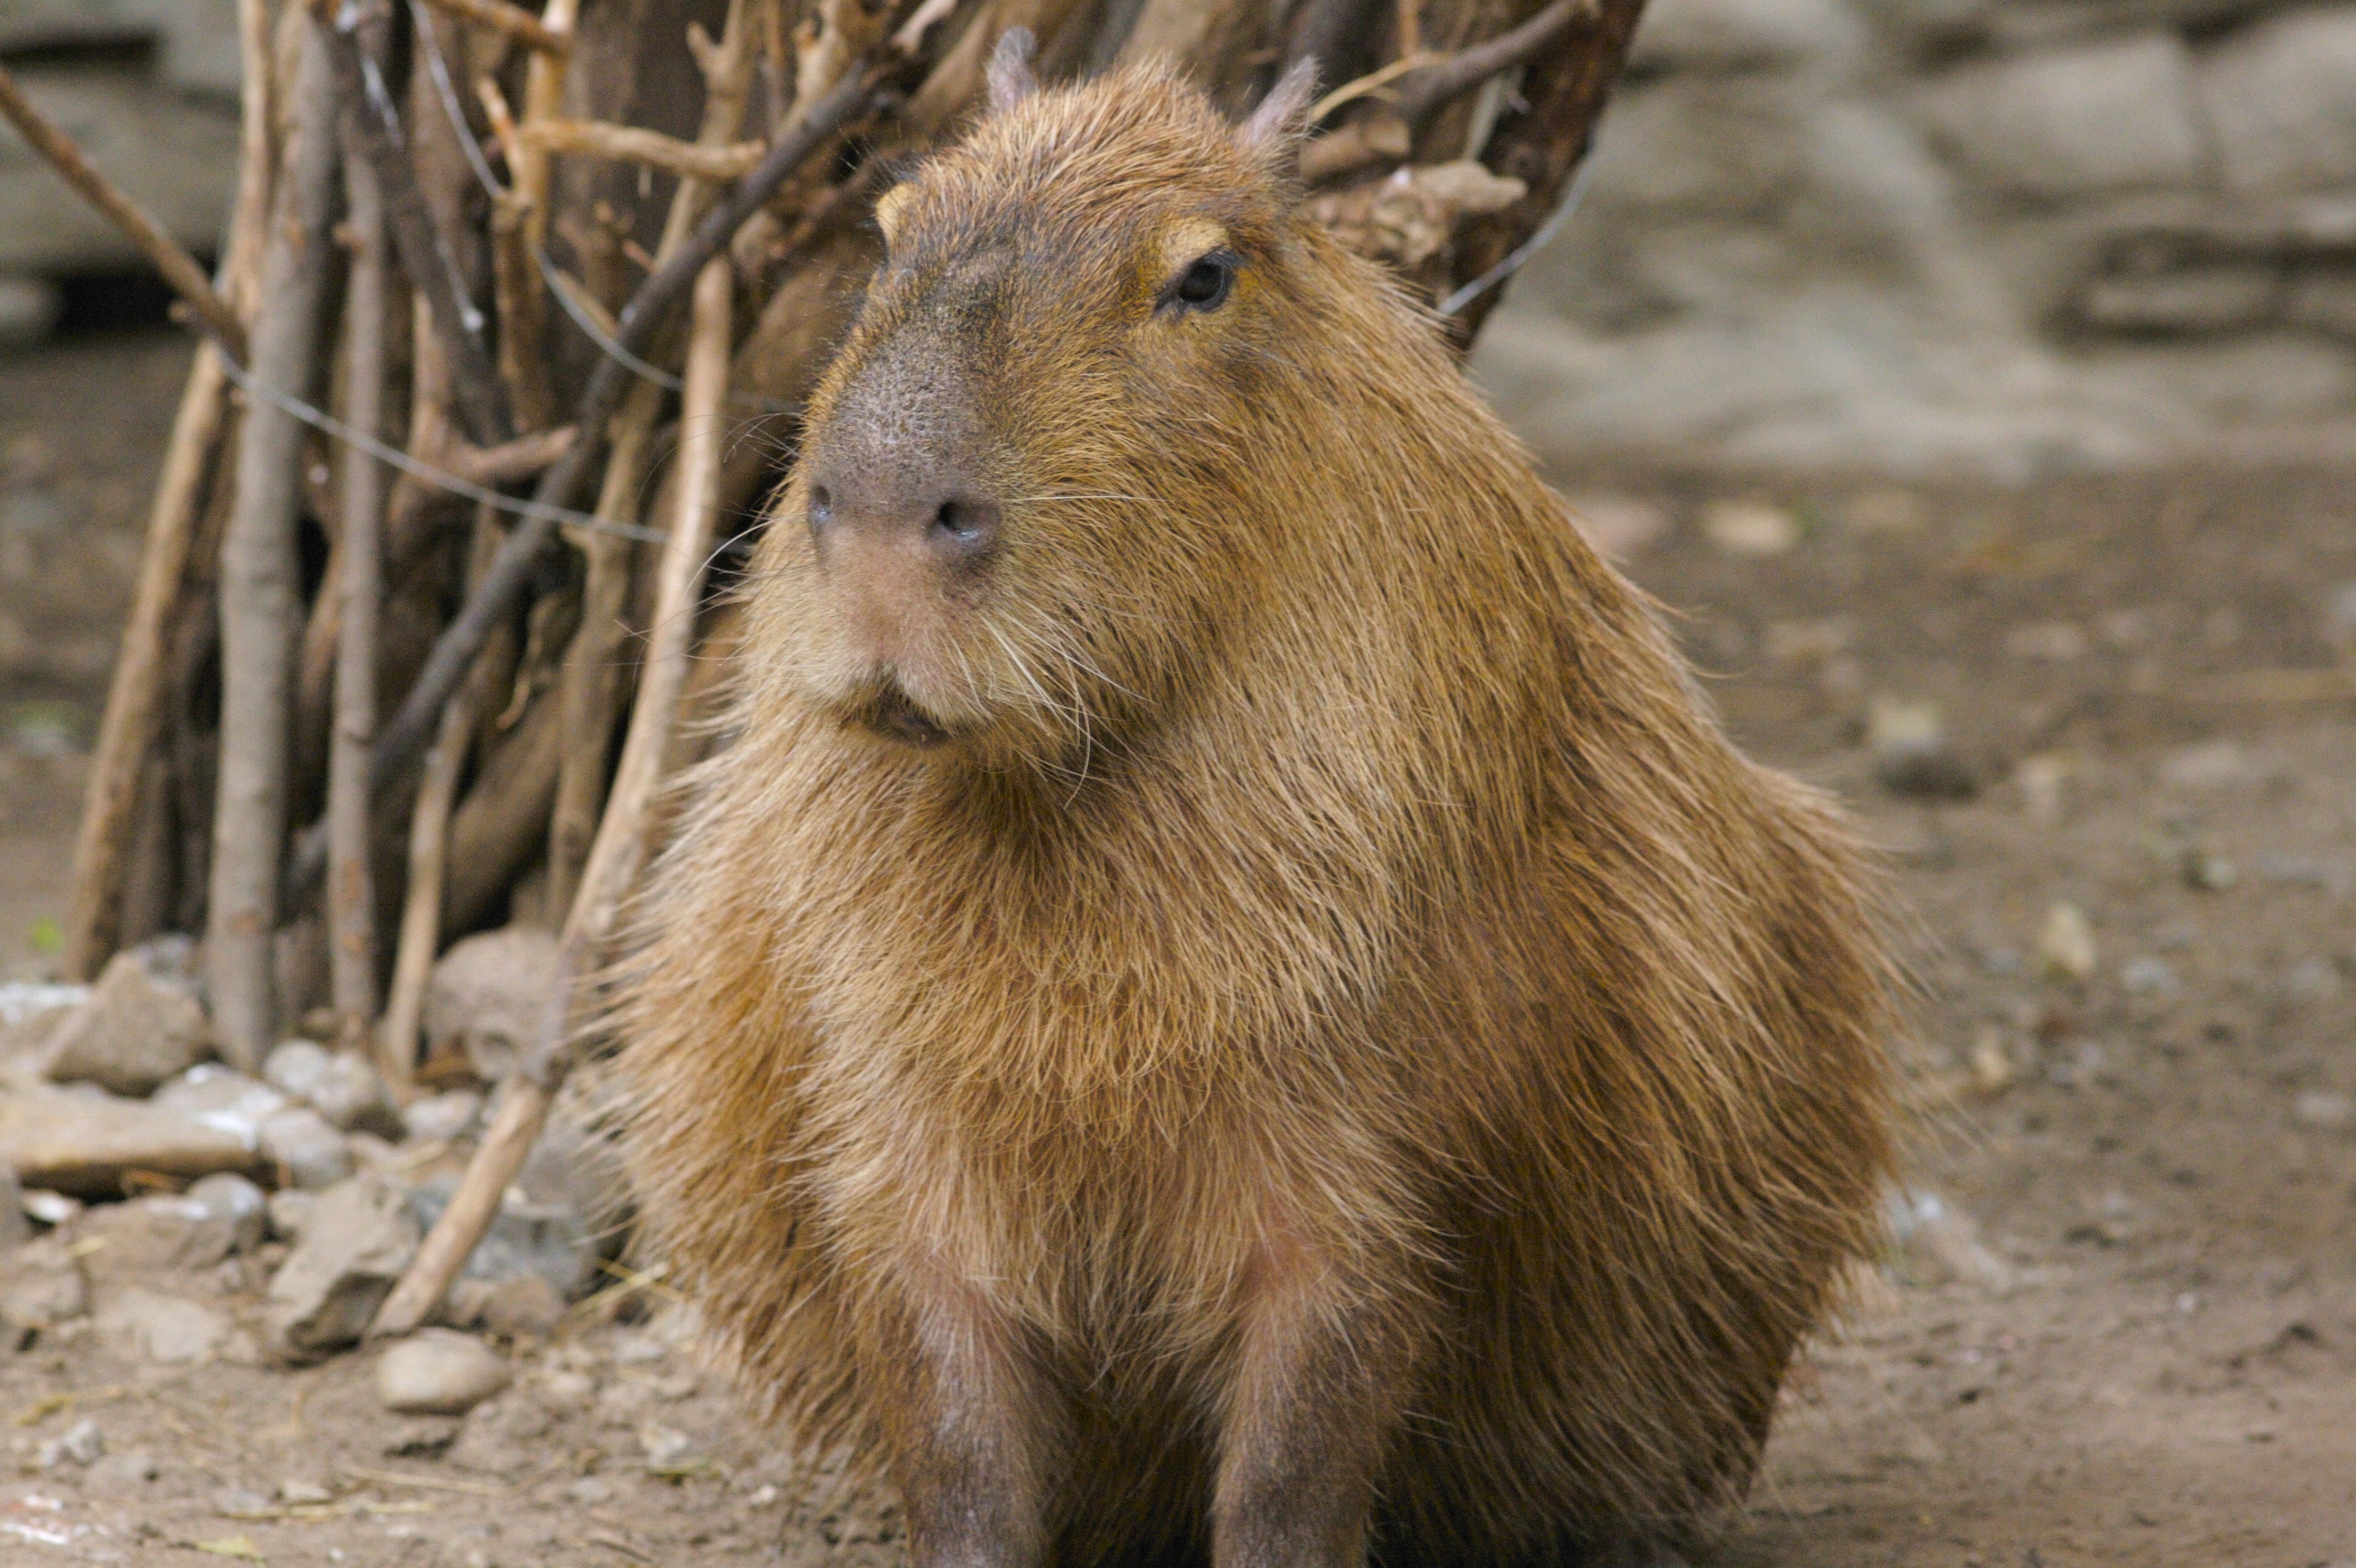
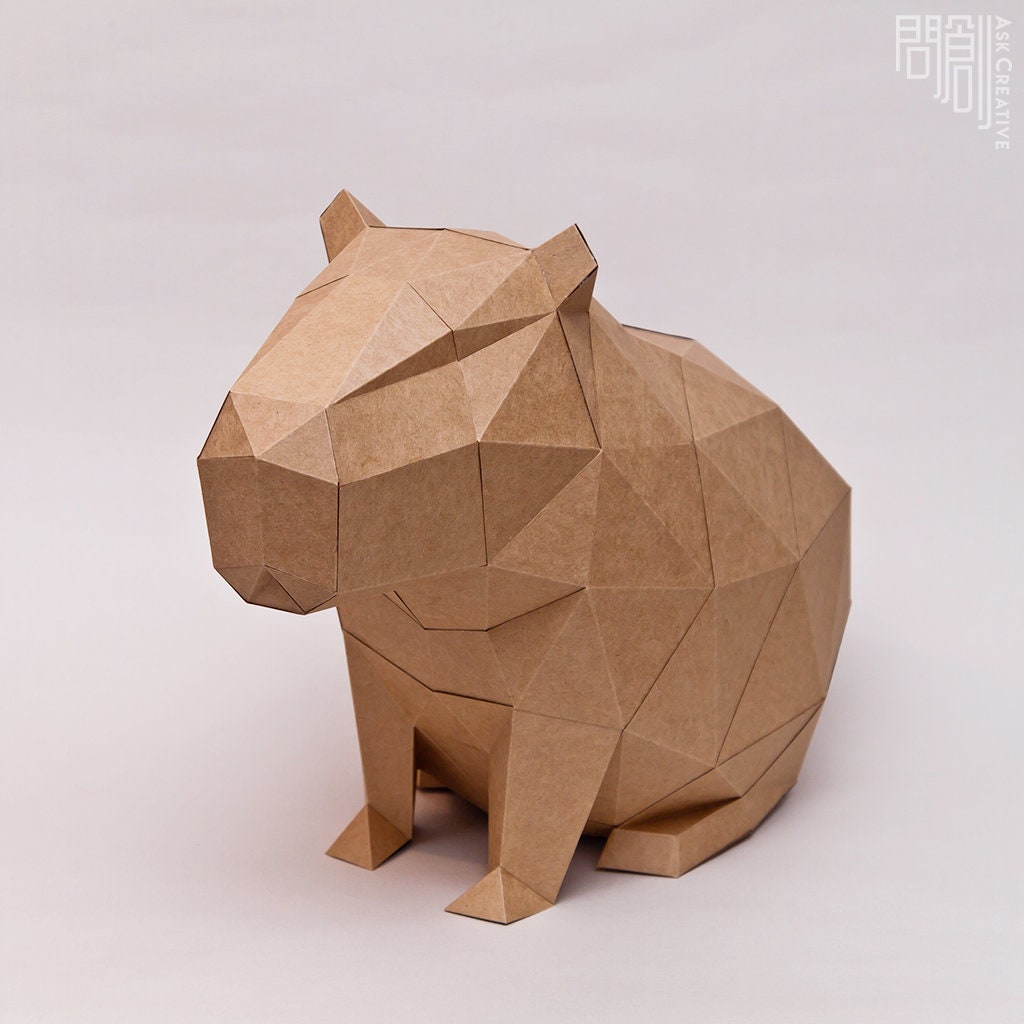
Are you a fan of capybaras? Do you also have a sweet tooth? If so, you're in for a treat! In this article, we will guide you through the process of creating a delicious capybara-themed cake. Whether you're an experienced baker or just starting out, this DIY project is sure to bring a smile to your face.
Gathering Ingredients

The first step in any baking project is gathering the necessary ingredients. For this capybara cake, you will need the following:
- 2 ?? cups of all-purpose flour
- 2 teaspoons of baking powder
- ?? teaspoon of salt
- 1 cup of unsalted butter, softened
- 2 cups of granulated sugar
- 4 large eggs
- 1 teaspoon of vanilla extract
- 1 cup of milk
- Food coloring (optional)
Make sure to have all the ingredients ready before you start baking.
Preparing the Cake Batter

To begin, preheat your oven to 350??F (175??C). In a medium-sized bowl, whisk together the flour, baking powder, and salt. Set the dry mixture aside.
In a separate large bowl, cream the softened butter and granulated sugar together until light and fluffy. Add the eggs, one at a time, beating well after each addition. Stir in the vanilla extract.
Gradually add the dry mixture to the large bowl, alternating with the milk. Mix until just combined. If desired, add food coloring to achieve the desired capybara color.
Baking the Cake

Prepare two round cake pans by greasing them and lining the bottoms with parchment paper. Divide the cake batter evenly between the pans.
Place the pans in the preheated oven and bake for approximately 30-35 minutes, or until a toothpick inserted into the center comes out clean.
Once baked, remove the cakes from the oven and let them cool in the pans for about 10 minutes. Then, transfer them to a wire rack to cool completely.
Decorating the Capybara Cake

This is where the fun begins! To decorate your capybara cake, you will need:
- Buttercream frosting
- Food coloring (brown and black)
- Pastry bags
- Decorating tips (round and star-shaped)
- Fondant icing (optional)
Start by frosting the cooled cakes with a layer of buttercream frosting. Use a round decorating tip to pipe the outline of a capybara's face onto the cake. Fill it in with brown buttercream frosting.
Next, use black food coloring and a small round tip to add the capybara's eyes, nose, and mouth. You can pipe a smiling expression to make your capybara cake even more adorable.
If you're feeling adventurous, you can also use fondant icing to create additional details, such as ears or paws. Remember to let your creativity shine!
Enjoying Your Capybara Cake

Once you've finished decorating your capybara cake, it's time to indulge in this delicious creation. Gather your friends and family, and enjoy a slice of capybara-themed sweetness together.
Remember, this cake isn't just about taste; it's also a celebration of your love for capybaras. Take plenty of pictures to capture this memorable moment.
Conclusion
Creating a capybara cake can be a delightful and rewarding experience. From gathering the ingredients to decorating the cake, every step allows you to express your creativity and passion for these adorable creatures.
So, what are you waiting for? Give this capybara cake DIY a try and share your masterpiece with the world. Your friends and family will be amazed by your baking skills and your love for capybaras!